

Integration between NSX ALB and the Telco Cloud stack
- vSphere
The cloud connector (or cloud) needs to be defined in the NSX ALB configuration. Although the TCP stack includes vSphere, NSX and Tanzu, the type of cloud connector is vSphere. This option gives more flexibility for the telco requirements, essentially: scalability, elasticity and failover.

Here are below the settings that are required to establish API connection between NSX ALB and vSphere, along with the video where you can see it through the UI.
cloud: |
Click below to watch a demo on Cloud integration between VMware NSX ALB and the VMware Telco Cloud Platform Product: |
Additionally, the same parameters (highlighted in yellow) above can be used to assign an IPAM profile to the cloud connector. This will allocate IP(s) for the management network for the Data Plane Fabric (Service Engine) leveraging the pool defined. The management network is used by the Service Engine(s) to connect to the controller.
cloud: |
Click below to watch a video on IPAM config. of VMware NSX ALB for the management network: |
The above integration allows the NSX ALB solution to deploy fully automatically data plane in this vSphere environment. The data plane also called Service Engine will be automatically configured with one vNICs connected to the network called “segment-mgmt” to allow connectivity between the Service Engine and the Control Plane (controller). Other vNIC(s) will be for the data plane.
- NSX
The next step is to make sure that NSX ALB is integrated with NSX. As mentioned in the part 1 of this blog post, BGP configured between the NSX ALB Service Engines and NSX tier0s provides:
- Reliability: Your CNF will be always available because it relies on multiple Service Engine (HA Mode: Active-Active). In case of outage on Service Engine(s), the failover time is extremely low thanks to BFD (which monitors the BGP session)
- Scalability: NSX ALB can manually or automatically scale the amount of Service Engine(s) for a given CNF
- Flexibility: You decide on which VRF you want to advertise your CNF.

On the network which connects the tier0s and the Service Engine, the first thing is to identify which IP address(es) the Service Engine(s) will get. To enforce the Service Engine to get predictable IP address(es), the following NSX ALB IPAM configuration is done. This is required to configure later the BGP settings with valid peer IP(s).
avi_ipam_pool: 172.16.120.201-172.16.120.204 |
Click below to watch a demo on IPAM config. of VMware NSX ALB for the BGP network: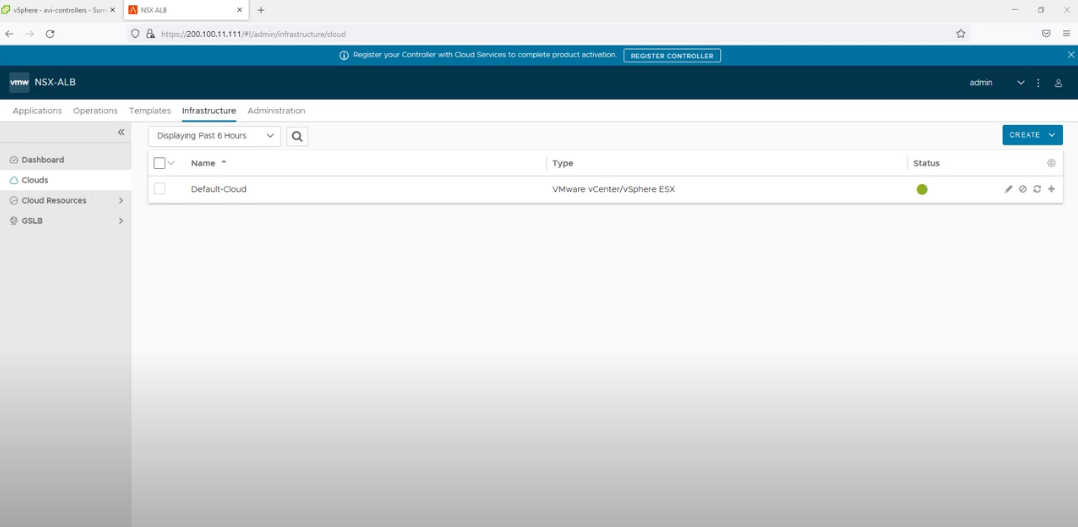 |
The next step is the BGP config itself: here are below the settings that are required to establish the BGP sessions between the Service Engine(s) and the NSX tier0s, along with the video to do this.
contexts: |
Click below to watch a demo on BGP config. between VMware NSX ALB and the VMware NSX Product: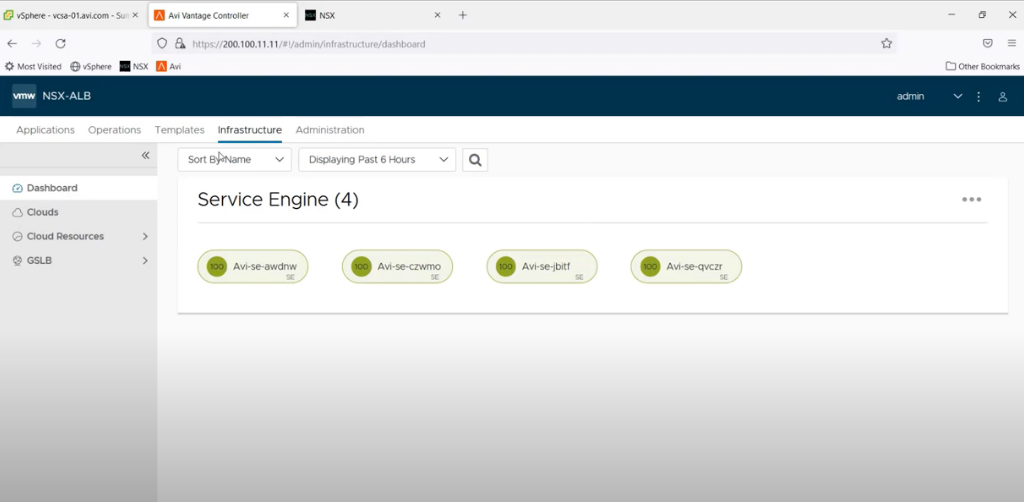 |
Few things are worth mentioning here:
- BGP labels allow you to choose on which VRF you will advertise your CNF. Later, a given CNF will be associated with one or multiples BGP labels. There is a one-to-one mapping between the BGP label and the BGP peers. Thus, by using the BGP labels, we get the flexibility on which VRF(s) we can advertise which CNF(s). See the yellow highlighted parameter above.
- In the video, BFD was disabled but, in a production environment, it must be enabled.
- In the video, BGP has been configured for multiples peers while the settings on the left shows only the config for one BGP peer.
- At this point, the BGP session(s) will stay Active or Down because no CNF(s) have been configured and therefore no Service Engine have been deployed.
- Tanzu
The last integration step is to integrate NSX ALB with Tanzu to fully manage incoming network function traffic. To achieve this, NSX ALB needs to be aware of your Tanzu cluster, the magic piece of software to handle this is called AKO (Avi Kubernetes Operator). AKO is a pod running on your Tanzu cluster which allows the controller to push the configuration to the Service Engine to ensure your CNF is available and secure.

Best practice is to use one Service Engine Group per Tanzu cluster. Here is below the video where we create this new Service Engine Group called “tkg”. You want to make sure that this service engine group will use “active-active” for the high availability mode. It allows high availability for your CNF! This Service Engine Group also defined the sizing of the data plane (Memory, CPU and Disk used by each Service Engine). This must be designed based on your traffic expected to your CNF(s) (throughput, request per second, and SSL TPS).
service_engine_groups: |
Click below to watch a demo on Service Engine Group config. of VMware NSX ALB: |
Before deploying AKO, we need to define one or multiple subnets that your CNF(s) can consume as external IP(s). This/These subnet(s) reside(s) on the top of your network which connects the tier0s and the Service Engine.
name_ref: vip-external-bgp-pg |
Click below to watch a demo on IPAM config. of VMware NSX ALB for the VIP network: |
Two subnets have been defined here: one for each VRF (orange and purple – see above).
The environment is now ready to start AKO in the Tanzu cluster. This can be done by several ways including using helm, VMware Telco Cloud Automation or by leveraging the Tanzu solution itself.
Prior to start AKO, we need to prepare a file called “values.yaml” which contains parameters. The template of this file can be retrieved by using the following command:
helm show values ako/ako –version 1.9.3 > values.yaml # replace with the proper version.
Here are below settings that we have changed along with the video where we deploy AKO by using Helm:
AKOSettings: |
Click below to watch a demo on AKO deployment within the VMware Telco Cloud Platform Product: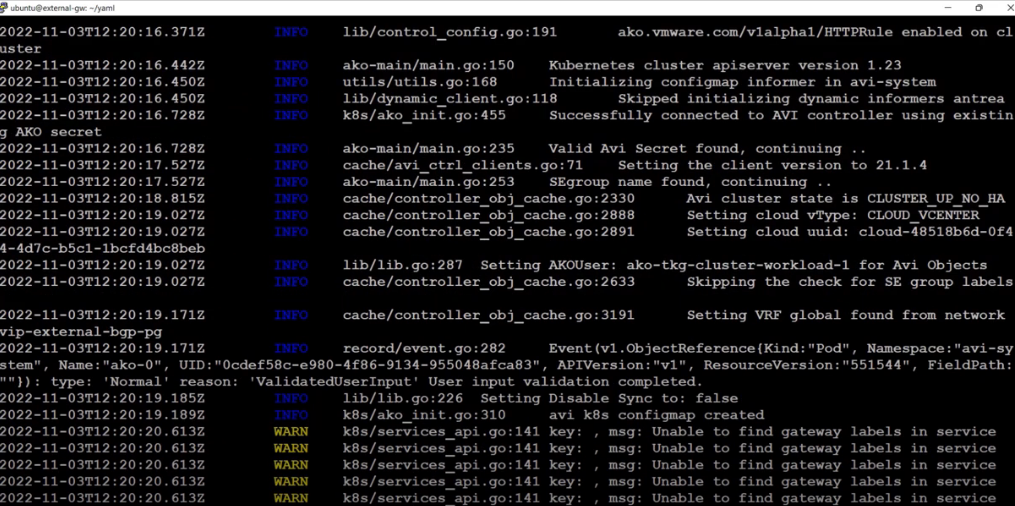 |
Few things are worth mentioning here:
- Inside your Tanzu cluster, make sure you have a name space called “avi-system” created prior to deploy AKO.
- In this example, we have deployed this Tanzu cluster with calico as a CNI.
- In the video, once AKO has been deployed, we have verified the logs of AKO to make sure AKO works properly.
- By default (from the values.yml file), the CNF(s) will use the network called “vip-external-bgp-pg” and the subnet “1.1.1.0/24” for the external-IPs. This can be changed later by using the CRD.
- By default (from the values.yml file), the CNF(s) will be advertised only to the BGP peers assigned with the “orange” BGP label. This can be changed later by using the CRD.
To allow the flexibility of Custom Resource Definition (CRD) later for the CNF(s), the following can be created through the Kubernetes API (just using kubectl apply -f file.yml):
apiVersion: ako.vmware.com/v1alpha1--- |
| Click below to watch a demo on AKO/CRDs deployment within the VMware Telco Cloud Platform Product: |
This two CRDs AviInfraSetting allow your CNF to be advertised on specific BGP peers (those associated with the BGP labels) to advertise your CNF only on specific VRF(s).
Additionally, if you need to have an FQDN configured for your CNF, the domain name needs to be configured in a DNS profile which needs to be assigned to the cloud connector. Here are below the settings, along with the video where you can see this through the UI.
domain: |
Click below to watch a demo on DNS profile config. of VMware NSX ALB for the BGP network: |
All the steps above create the full integration between NSX ALB, vCenter, NSX and Tanzu.
